Making the G4 quieter
I don't think I mentioned this before, but back in the summer I got the opportunity to get my hands on a 'Quicksilver' Power Macintosh G4 for a decent price. I jumped on this because I suspected (correctly, it turned out), that a G4 running OSX would make a huge difference to my SCSI scanning shenanigans that previously was the job of the Power Macintosh G3.
So after owning this for a few months and having it running a lot whilst it was earning it's alternating current, what always struck me was how loud it was, the difference in ambient sound in the room once the G4 shut down was massive. So even though it wasn't bothering me whilst in use, I thought it would be fun to try to make it quieter.
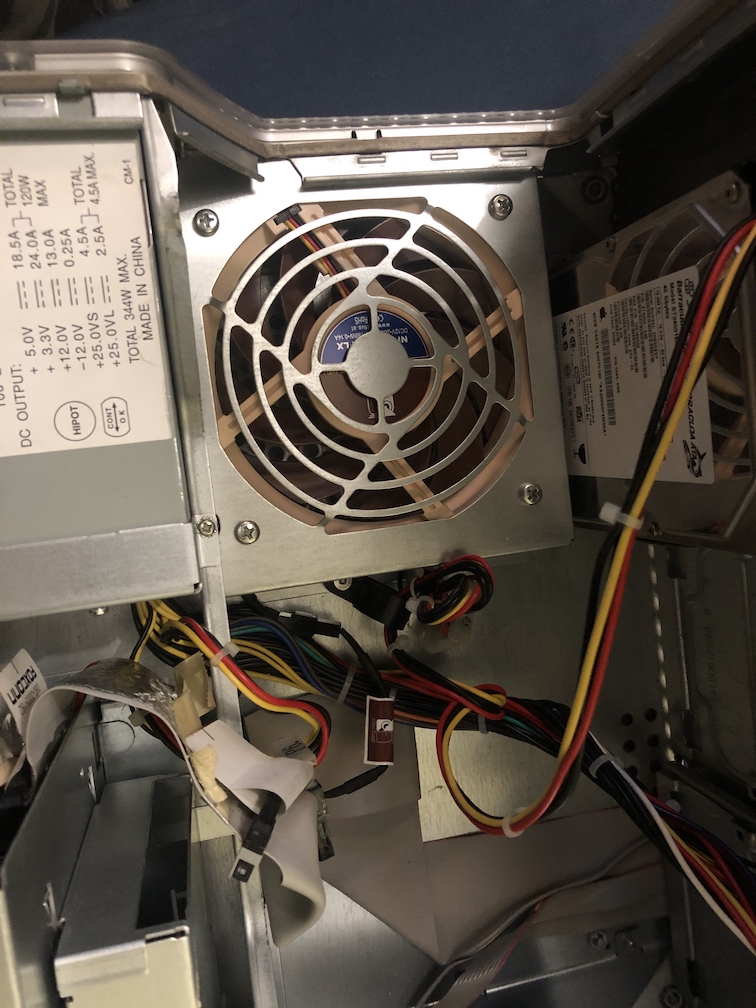
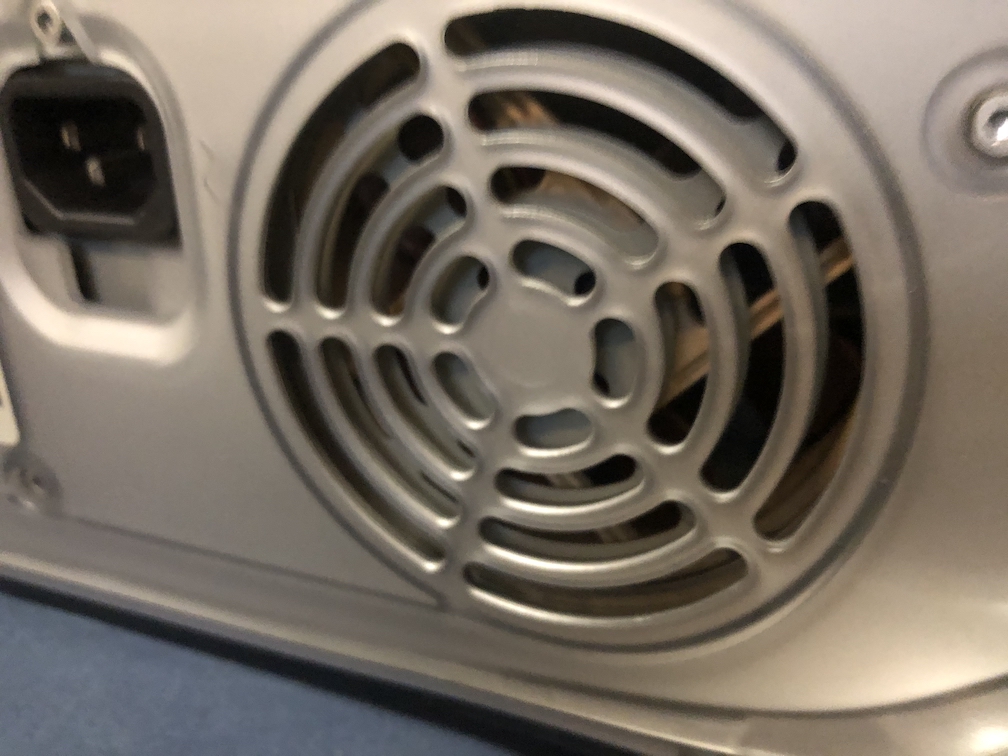
There were a number of revisions of the G4 throughout it's lifetime, each seem to have a slightly different layout and number/placement of fans. This 'Quicksilver' model has three fans; a 60mm unit that blows air over the processor heatsink, a 120mm fan in the chassis that seems to blow air over the motherboard, and an 80mm exhaust fan in the power supply. As this was long before the days of intelligent fan control, all three fans run at maximum RPM at all times.
Note: this isn't a definitive guide; my particular machine has a power supply with an 80mm fan, but yours might be different if it's been replaced in the past.
Time to go shopping. Clearly, the only real choice was to browse Noctua's website for compatible replacements, which isn't too hard to do as all three fans are 12v so I only had to match the size.
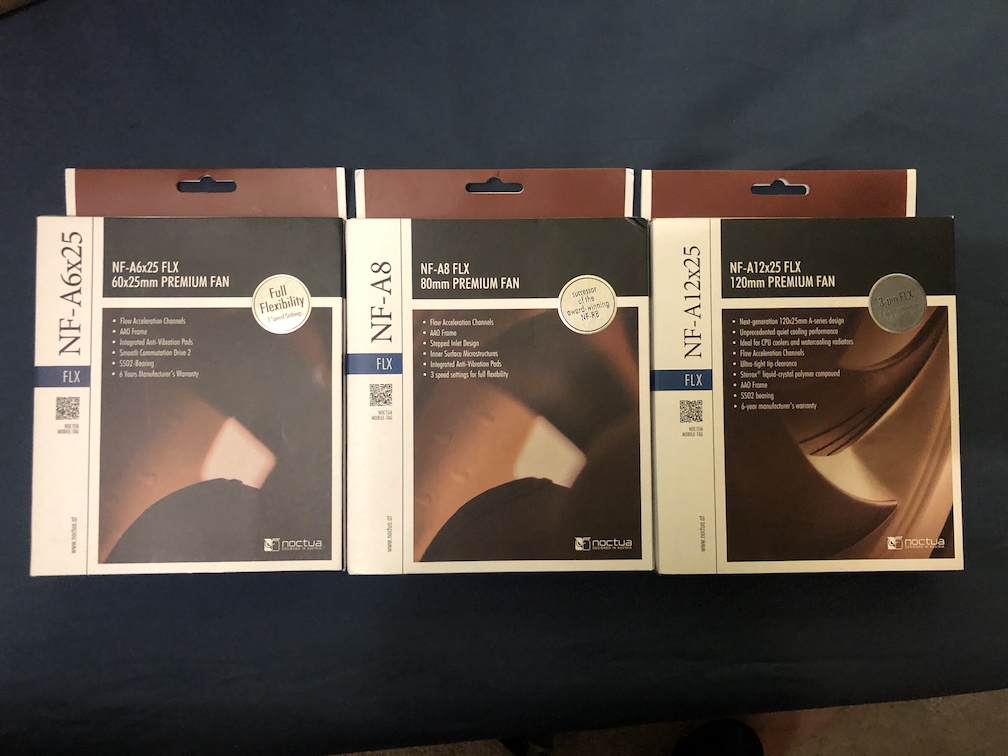
Here's what I ended up with. For the 60mm CPU fan, I went with a NF-A6x25 FLX. The 80mm PSU fan is represented by the larger version, the NF-A8 FLX. And for the 120mm chassis fan, I stuck with the same family and got the NF-A12x25 FLX.
Fitting, from easiest to most fiddly, goes as following:
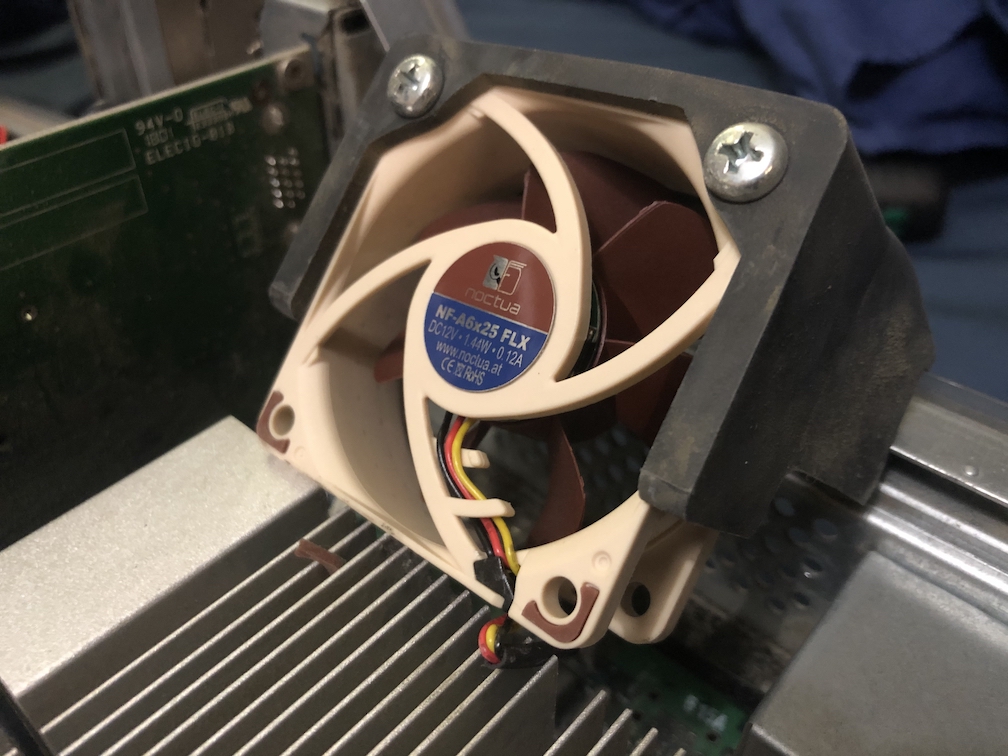
The CPU fan is found by releasing two screws that go through the back panel, and afterwards the plastic fan shroud and fan come out as a unit. Swap the fan (of course paying attention to the orientation) and stuff it back in, job done.
The chassis fan is next. This is found by removing two screws, and the enclosure slides out. I found it was easier to remove the tray that holds the hard disks first to gain access. Swap the fan. For this one, I realised that the standard power wiring required a male connector from the fan, which it doesn't have, so I got around this by using the Molex adaptor that's supplied in the kit of extra wires that comes with the fan, and plugged that in to a spare Molex from the power supply.
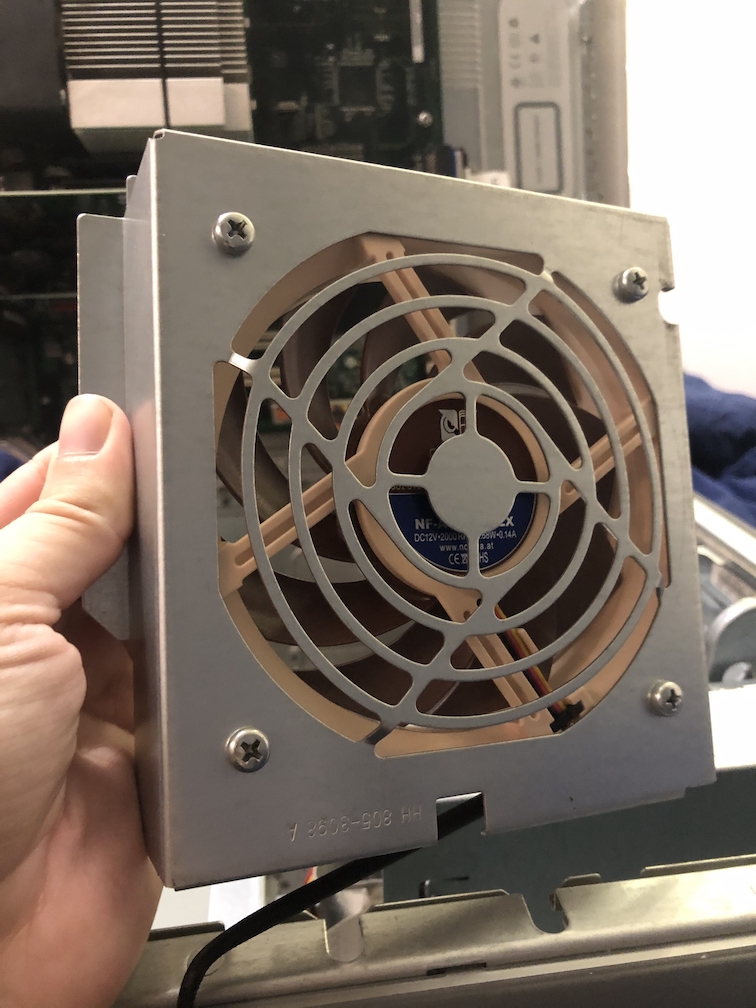
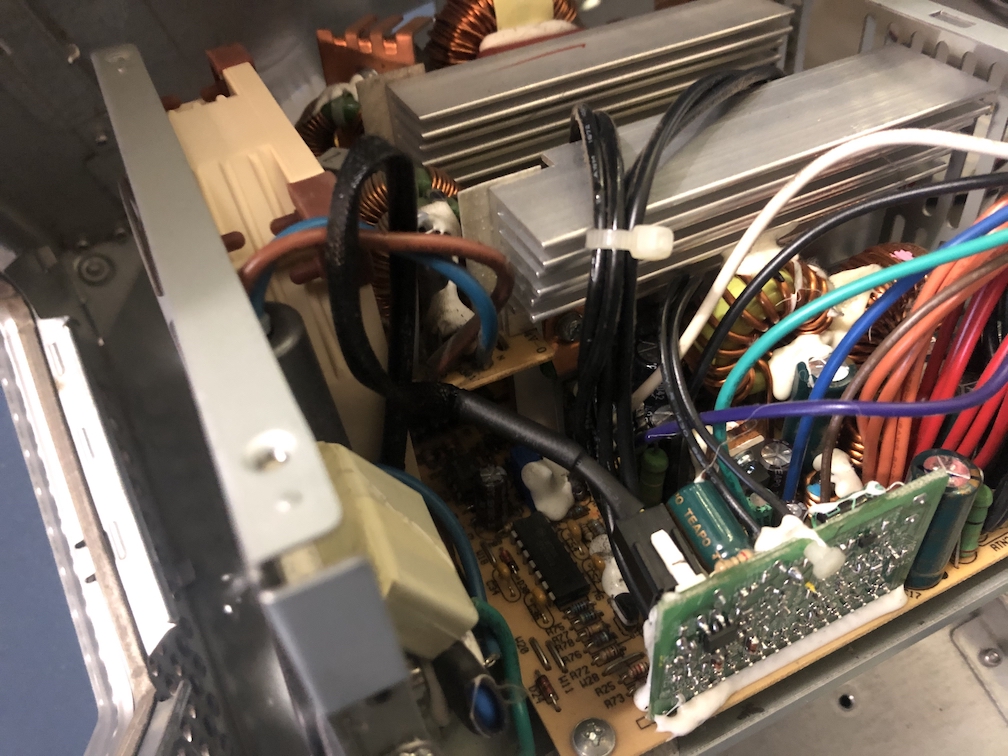
Now the power supply. This, whilst fiddly, isn't difficult to do. I found this easier to accomplish whilst the hard drives and chassis fan was removed, and also found it necessary to remove the optical drive chassis too. There's also three hex screws that hold the power supply through the rear of the machine that need to come out. Once you've got it free, there's four small screws that hold the top of the casing on, and then after that you should be in. Remove and replace the fan whilst utilising a small amount of force to create some space to slide the fans in and out. Afterwards, put it all back together.
So to results. The machine is noticeably quieter, it now hums gently rather than making it's presence known. In honesty, I replaced the CPU fan a little while before the other two thinking it was the cause of the excess noise, but in practice it was the power supply fan that made the most difference. I'm pleased I did the whole lot however, for maximum effect.
Now this machine is considerably quieter, I'm looking around at the rest of my fleet and wondering what else requires new fans. Watch this space